So I have to apologize for my little blogging hiatus. I really have no excuse except that life is busy! Although I’ve been MIA these past few weeks, the up side is that I’ve completed some fun little projects and stock piled all my photos so that eventually I could share them all with you.
As you may know, one way to spruce up a room in a pinch is to add a few pillows that pop. Accent pillows can be pretty pricy if you buy them in a department store, so my advice is to create your own (it’s much more rewarding that way right?) I’m still learning the best ways to explain how I make the things I do, because mostly I just make it up as I go. So I’ve put together this quick tutorial to hopefully get you started, or at least inspired, to add a bit of style to any room with some fun pillows. Here goes..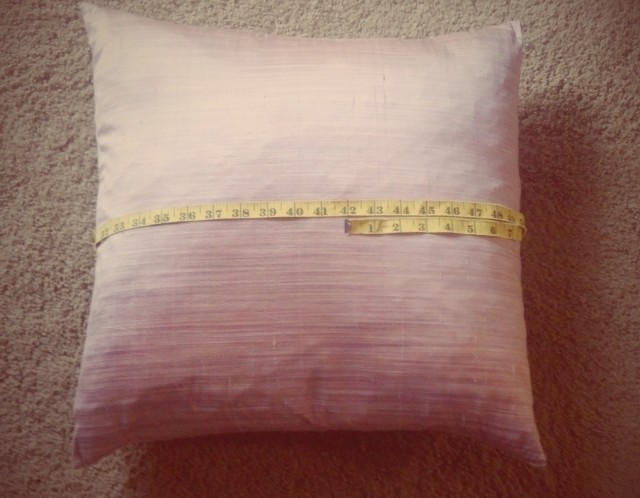 First- measure the height and width of your pillow. Add 1 inch to the height for seam allowance and 5 or 6 inches to the width for seam allowance and for the overlap part of the pillow case where you will insert your pillow (hopefully the pictures will help you out, like I said, I’m new to this explaining how I do things.. thing) My pillow was a perfect square so it was 21 inches tall and 42 inches all the way around.
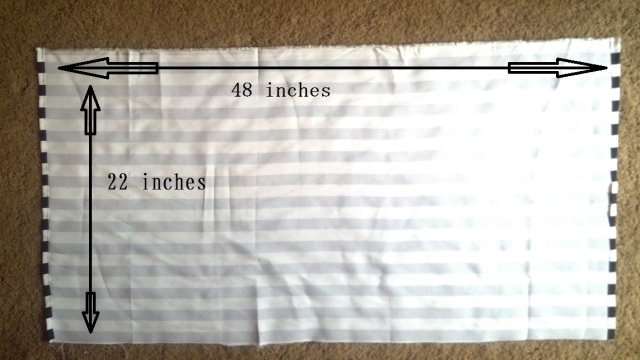 Once you’ve cut your fabric, fold the two short ends to make your hem, and sew.
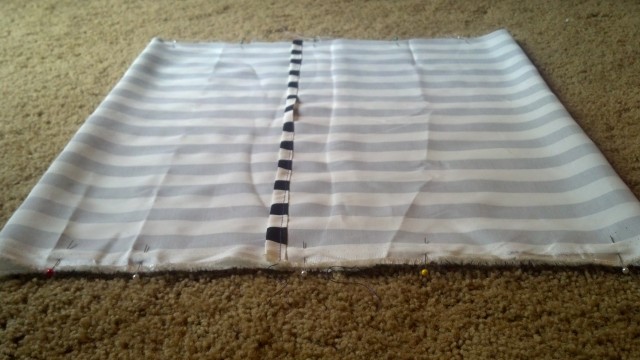 Once your ends are hemmed, fold the two sides inward with the right sides of the fabric facing each other, with one side overlapping the other by several inches until the width of your fabric is the right width of your pillow. (If this is confusing I’m sorry!) It took a bit of playing around with it to get the overlap part just right, and in the middle where it should be. Once you’ve got it, pin it in place and sew the top and bottom seams.
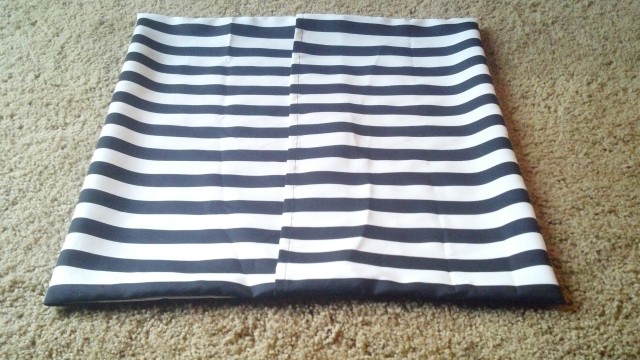 Flip it right side out and use your fingers to poke out the corners and VOILA! A brand new pillow case!
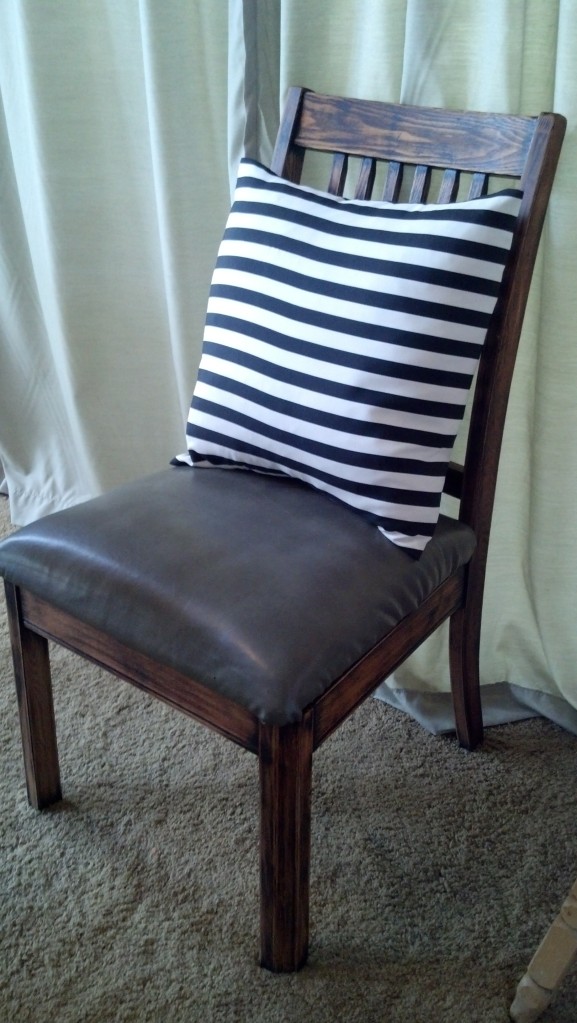 Isn’t she lovely? And thrifty at that, I got this fabric for $3.
And pssst.. this is one of my finished dining chairs I’ve been slaving over for much longer than I’d anticipated. I’m hoping to have them finished soon so I can share the before and after transformation.
 For now these little beauties are resting on our bed.
Hope you liked my tutorial. Happy Monday Y’all.


